The Complete Guide to Refunds, Credits, and Reconciliation in Maxio

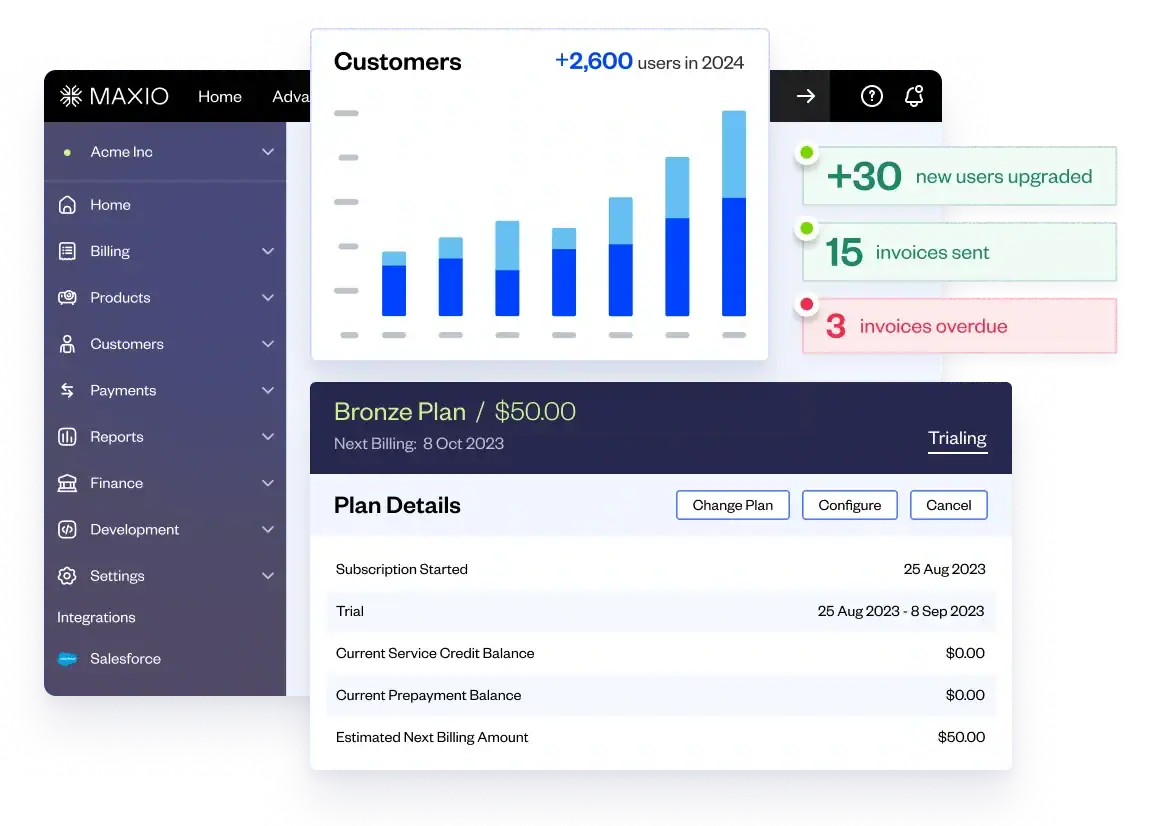


Refunds, credits, overpayments, and deposits quietly decide whether your month-end close is calm or chaotic. Each one looks small in isolation. But handled carelessly, any of them can drift your revenue out of sync, leave a payment stranded in undeposited funds, or surface as a discrepancy you have to explain after the books are supposed to be closed.
Your revenue, your invoicing, and your general ledger have to stay in balance, and the cleanest way to keep them there is to let Maxio enforce that balance rather than reconstructing it by hand. Every workflow in this guide is an expression of that idea.
This guide covers the full territory: issuing a refund in each of its common forms, refunding and rebilling without disturbing revenue, resolving overpayments, and understanding how payments and deposits flow through to automatic reconciliation. Terminology shifts depending on the general ledger you’re connected to, and those differences are noted inline.
A quick orientation before the workflows
In Maxio, your revenue is tied to invoice line items, which are tied to a transaction. A refund or credit isn’t an isolated event; it’s a change to that transaction that has to be balanced on both the invoicing side and the revenue side.
Hold that idea, because it’s the key to everything that follows. Nearly every “why does Maxio make me do this extra step” moment in this guide is Maxio keeping those two sides aligned for you. Once you see the workflows as different ways of preserving that balance, the steps stop feeling arbitrary and start feeling obvious.
Part 1: Issuing a refund
Most refunds fall into a handful of scenarios, and the right steps depend on two questions: which general ledger you’re connected to, and whether a payment gateway was involved.
Which general ledger are you connected to? The terms differ but the steps are the same.
- Connected to QuickBooks: Maxio shows “refund receipt.”
- Connected to another GL like Xero, NetSuite, or Intacct (or no GL at all): you’ll see “credit memo.”
Was a payment gateway involved? If the original payment ran through Stripe, Stax, or Maxio Payments, you’ll initiate the refund inside that gateway. If not, you’ll record a manual refund in Maxio.
Workflow A: Manual refund, no QuickBooks
This is the baseline flow. The payment was collected outside any gateway, and the account is connected to something other than QuickBooks (or nothing at all).
Start on the invoice you’re refunding. Hover over Invoice and click Create Credit Memo. Maxio numbers it automatically, appending .CM01 to the original invoice number. Set the date and amount. You can issue a partial refund by lowering the amount.
Use the memo field. Write down exactly why you’re issuing the refund. Weeks later, closing the books, you won’t remember why a credit exists, and your future self shouldn’t have to dig through emails to reconstruct it. A line like “Refund for duplicate charge, approved by [name]” takes seconds and saves real time later.
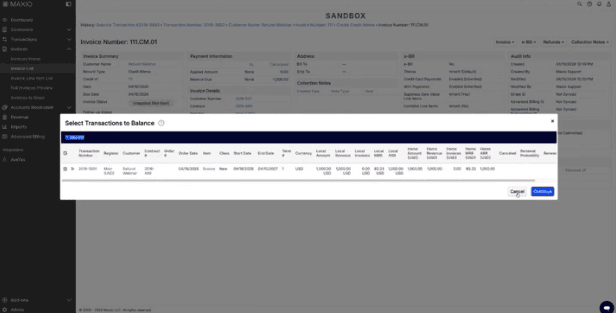
Click Save, and you’ll land on the balance screen, which is the heart of why this flow starts inside Maxio.
The true-up screen. Maxio knows there’s revenue attached to the invoice you just credited, and it stops to let you reverse that revenue now. This is the step other systems get wrong. If you’d started in your GL, you might issue the credit and walk away while the associated revenue sits untouched somewhere else, waiting to surprise you at month-end. Continue through the prompt, and Maxio trues up the revenue tied to the transaction. You’ll land on the transaction page with revenue and invoicing both zeroed out and in balance. The credit memo now sits alongside the original invoice as a matching negative credit.
The refund record. The invoice status now reads unapplied. One step left: hover over Refunds and click Create Manual Refund. Maxio numbers it against the credit memo. Set the amount and date, use the description field, and save. The invoice status flips to paid, and the payment section shows a record already named “refund.”
Workflow B: Manual refund, connected to QuickBooks
Identical to Workflow A, with one vocabulary swap. It auto-numbers the same way, the invoice number plus an .RR suffix instead of .CM. Every other step (date, memo, true-up screen, final refund record) is the same. Translate the terminology and proceed.
Workflow C: Refund through a payment gateway
Here the deciding variable is the gateway, not the GL. Because the original payment ran through Stripe, Stax, or Maxio Payments, you process the refund inside that gateway.
Using Stripe as the example: hover over Invoice and click Initiate Refund in Stripe. Maxio takes you straight to the exact payment in Stripe, so you’re not hunting for it. Click Refund in Stripe, and the gateway handles the money movement and flows the records back to Maxio. You’re not recording a manual refund here, because the gateway is the system of record for the actual transaction.
The same flow applies to Maxio Payments, Stax, and any other gateway you use. Each one looks a little different, but the steps are the same.
The closed-period safeguard
If the credit memo or refund receipt date falls inside a period you’ve already closed, Maxio won’t reverse revenue out of that closed period. It flags that your date sits inside a closed period and prompts you to pick one outside it. You can still true up the revenue on the balance screen, but the adjustment lands in the first open period of the transaction.
Without close periods, a backdated refund would quietly back out revenue from earlier in the year, revenue you may have already reported to a board or investors. The next time you ran the report, the numbers would have moved. Close periods stop that. If you take one habit from this guide, make it this: use close periods and lock your historical data.
Part 2: Refund and rebill without touching revenue
Let’s say a customer paid by ACH and now wants to pay by card, or paid against the wrong invoice. You need to give the money back and re-bill cleanly, without disturbing the revenue, because you’re still delivering the service.
This is where the in-balance principle produces a counterintuitive move. The flow looks like a refund followed by a new invoice. But on the balance screen, you cancel it, where a standard refund would continue. That single choice is what preserves the revenue.
Here’s the full sequence:
Step 1: Credit the original invoice. Create the credit memo (or refund receipt in QuickBooks), for the full amount, with a clear memo.
Step 2: On the balance screen, cancel. Don’t continue. When you save, Maxio sees a negative line item and assumes you’re reversing revenue, because in most refunds you are. For a rebill, you’re not. Hit Cancel. The new invoice you’re about to create is what re-balances the transaction back to its full amount.
The key difference
- Full refund: continue → reverses the revenue.
- Refund and rebill: cancel → preserves the revenue. Same screen, same buttons, opposite intent.
Step 3: Tie out the credit. Under Refunds, create a refund payment for the credit memo. That marks it paid, clears the balance, and records it as a refund rather than a floating credit. On a gateway, this reads Initiate Refund instead.
Step 4: Clone the original invoice. Rather than rebuilding by hand, use Clone. It copies the date, the transaction, the line items, the descriptions, and the amounts, keeping the new invoice attached to the same transaction, which is what holds the revenue in place. If the original sat in a closed period, push the cloned invoice’s date into an open one. Save.
Confirm balance. Return to the transaction. It should sit at the full original amount, revenue unchanged, invoicing matching. If the transaction view shows red, there’s an outstanding adjustment or a skipped step (usually the clone), so reconcile before sending. Then preview and send the new invoice. The customer gets a fresh invoice; your revenue never moved.
Part 3: Handling a customer overpayment
A customer owed $800 and paid $1,000. There are three ways to resolve it, and the choice depends on what records the customer (or your accounting) needs afterward. All three keep revenue and invoicing in balance; they differ in how the paper trail reads.
First, the principle that governs all of them: you refund an invoice, not a payment. Revenue ties to invoice line items, so a refund needs a line item to attach to. A loose overpayment with no matching invoice line has nothing to anchor to.
Option 1: Refund and rebill the full amount
Treat it as a clean refund and rebill: refund the entire payment, then rebill at the correct amount, using the four-step rebill flow from Part 2. Using this when starting clean is simpler than surgically separating the overpaid portion.
Option 2: Partial refund
Refund only the difference. Create the credit memo on the paid invoice, but lower it to just the overpayment ($200 in this example).
Click Save, and on the balance screen, continue (unlike a rebill). The transaction was $1,000 in revenue and invoicing; you’ve lowered invoicing to $800, so continuing balances the transaction down to $800, keeping revenue and invoicing aligned at the corrected figure. Then tie out the credit with a $200 refund payment (or initiate it in the gateway). The result: original invoice, original payment, and a $200 credit tied out with a $200 refund.
Option 3: Split the overpayment into its own invoice
When the customer needs two distinct records (one for what was billed, one showing the overpayment refunded), use this. It’s the most involved option and the clearest demonstration of “refund an invoice, not a payment.”
- Adjust the original invoice to the correct amount. Edit it down to $800. (If it’s already synced to your GL, make the change there and sync back; your GL is the source of truth once a record has synced.) On the balance screen, cancel, because the new invoice will handle balancing.
- Split the payment. Open the $1,000 payment and lower the applied amount to $800. Maxio recognizes the leftover and creates an unapplied line for the remaining $200. Confirm it.
- Create an invoice for the overpayment. Clone the invoice and change the amount to $200. This invoice gives the refund a line item and transaction to attach to.
- Apply the unapplied payment. On the new $200 invoice, apply the $200 unapplied line sitting on the account. Maxio surfaces it automatically; the invoice is marked paid.
- Refund the new invoice. Run the standard refund on the $200 invoice: create the credit memo, continue on the balance screen (invoicing was lowered, so reverse that revenue), and tie out the credit.
When done, the transaction reflects the corrected $800, the original invoice shows $800, a separate invoice represents the $200 overpayment, and a credit shows it was refunded. Everything is separated into its own records.
Which one should you use? All three land the revenue in the same place, so the deciding factor is what the records need to show afterward. Match the option to the paper trail you want:
- Option 1 (refund and rebill) when starting fresh is cleaner than adjusting, or the whole payment needs to come back.
- Option 2 (partial refund) when you just need to hand back the difference and correct the invoice in place.
- Option 3 (split invoice) when the overpayment needs its own documented record, separate from what was billed.
Part 4: How payments and deposits reconcile
The above transactions all eventually land in your bank and have to reconcile against your GL. Understanding that flow is what makes reconciliation automatic instead of manual.
How payments are created
A payment can originate three ways: through a gateway (Stripe, Stax, Maxio Payments), manually (for off-platform payments like a mailed check), or from your GL/ERP (which syncs over and behaves like a manual payment).
Structurally, a payment is a container holding payment lines. The shell carries the high-level detail (total, currency, ID, method, audit info); the lines show how the payment applies across invoices. One payment can hold many lines, which is how a single $500 payment maps cleanly across five $100 invoices, each line tied to one invoice.
How deposits are created
Deposits work similarly, with one key difference: they can only be created by a payment gateway. There’s no manual deposit in Maxio. Because Maxio receives the deposit directly from the processor, it can match it to the payments it already knows and reconcile automatically.
A deposit is a collection of the payments and refunds your processor settled over recent days. It typically appears two to five days after the payment was processed, the time the money takes to move into your bank. That lag is normal and the most common reason a deposit “isn’t there yet.” Structurally, a deposit mirrors a payment: a container plus deposit lines showing which payments are included and their gross, net, and fee amounts.
The full flow, end to end
- Create an invoice and send it.
- The customer pays through the gateway; the payment records in Maxio and applies to the invoice.
- Maxio syncs the payment to your GL to tie out the balance; the GL marks the invoice paid and updates the status in Maxio.
- Two to five days later, the money hits your bank and the deposit is created in Maxio.
- You sync the deposit to your GL, which moves the payment out of undeposited funds and reconciles to the designated bank account.
And then the payoff. Reconciliation happens automatically against the right account, removing the manual matching that used to be done by hand.
Why the order matters
The flow is a chain of dependencies. The invoice must sync before the payment, and the payment before the deposit will be triggered to sync. The cleanest approach is to let Maxio run the whole flow uninterrupted: let the invoice sync, let the payment sync, then wait for the deposit and reconcile, with no manual intervention in between.
Part 5: When the sync breaks
When a payment or deposit is missing from your GL at close, the cause is almost always an upstream sync that didn’t complete, stalling everything downstream. Because the records sync in a chain, you diagnose by working backward.
The dependency chain: if the invoice didn’t sync, the payment won’t; if the invoice and payment didn’t sync, the deposit won’t be triggered. So a missing deposit is usually a symptom, not the cause. Don’t start at the deposit; work up the chain to the first record that never made it to the GL.
The deposit-lines list is where you do the real diagnostic work. Under the accounts receivable view (or the invoices tab), find the deposit list, showing deposits created by your gateway, each with an ID linking back to the gateway record. Beneath it sits the deposit-lines list, which you can filter by deposit to see each line, the payment it’s tied to, the fee, and the net and gross amounts. This is the one place to line up what’s in your gateway, in Maxio, and in your GL, and see which records carry IDs and which don’t. It’s exactly where Maxio Support looks to find a record that didn’t sync.
What breaks the flow: most sync problems come from manual intervention mid-flow. Don’t touch a payment sitting in undeposited funds while it waits for its deposit; if you manually associate it with another deposit or create a manual deposit for it, Maxio will later try to push the real deposit and your GL will reject it because the payment was already deposited. Don’t manually reconcile gateway payments in the GL, don’t match payments before the deposit syncs, and don’t create deposits manually in your ERP for gateway payments.
The troubleshooting sequence:
- Start at the top of the chain, not the deposit.
- Confirm the invoice is synced. If not, that’s the break.
- Confirm the payment is synced (it can’t if the invoice didn’t).
- Then check the deposit (it won’t trigger unless invoice and payment are both across).
- Use the deposit-lines list to compare gateway, Maxio, and GL, and find the first record missing an ID.
Fix the earliest broken link and the rest of the chain usually clears on its own.
A note on flow settings
Depending on your GL, settings can change this order. QuickBooks, for example, can hold the payment from syncing until the money lands and the deposit arrives, syncing both together. It’s valid, but the invoice won’t be marked paid until the payment syncs, which delays paid status and can push invoices past-due if you run dunning cadences. Decide deliberately rather than discovering it at close.
It all comes back to balance
Every workflow here is the same idea wearing different clothes. A refund reverses revenue and invoicing together. A rebill preserves revenue by re-balancing with a cloned invoice. An overpayment gets resolved by giving the refund an invoice to attach to. A deposit reconciles automatically when the chain syncs in order. In each case, the job is keeping revenue, invoicing, and your GL in balance, and the recurring lesson is to let Maxio enforce that balance instead of patching it by hand after the fact.
Get that principle, use close periods, and let the system manage the full flow, and the transactions that used to make month-end stressful mostly take care of themselves.
For complex cases (multiple invoices, gateway-specific behavior, advanced billing scenarios), Maxio Support can walk through the best path for your exact situation. Submitting a ticket through the help center and tagging the relevant area routes it to the right specialist for a faster, more precise answer.