Subscription-based pricing is the backbone of many software-as-a-service (SaaS) platforms. In this model, customers pay a recurring monthly or annual fee to access a company’s proprietary software. While straightforward, this approach isn’t the only option for SaaS companies looking to meet diverse customer needs and achieve their financial growth goals.
One increasingly relevant alternative is usage-based pricing, a model where customers pay based on their actual usage of the service. This approach has gained popularity because it aligns pricing with value delivered, offering customers more flexibility and transparency. For SaaS companies, it opens opportunities to attract a broader customer base, particularly those hesitant to commit to fixed subscription fees. If you’re exploring ways to diversify your pricing strategies, usage-based pricing is worth considering.
But before you decide to adopt this model, you need to understand how it works, its benefits, and whether or not it aligns with your business’s goals. Done right, usage-based pricing can complement traditional subscription-based pricing to better serve your customers and drive sustainable growth.
Understanding usage-based pricing models
Also known as consumption-based pricing models, a usage-based pricing model charges customers based on how much they use a product or service. Most people are already familiar with this kind of pricing in their everyday lives—when you pay for an Uber ride or your electric bill, the cost reflects your actual usage. While it’s not a new concept, it offers SaaS companies a compelling alternative to traditional subscription models, where pricing structures are fixed for specific periods regardless of individual consumption.
In a subscription business, various factors influence the best pricing structure for a SaaS product, such as the number of users, how frequently the product’s functions are utilized, and the cost expectations of the customer. Unlike fixed subscription models, usage-based pricing can provide greater flexibility and fairness, especially for customers who value paying only for what they use.
You’ll want to keep in mind, however, that it’s important to differentiate between usage-based pricing and usage-based billing. While pricing refers to determining the value of a product or service, billing involves charging a customer based on their consumption. For example, a company may use a hybrid model that combines traditional subscription pricing with usage-based billing to better align with customer needs.
Types of usage-based pricing models
This type of pricing structure aligns monetization with how users consume a product or service. What makes it both unique and complex is the variety of ways it can be scaled to meet specific needs. A variable usage-based pricing model allows SaaS companies to tailor their offerings to align with customer behaviors while maximizing revenue. Here are some key examples of usage-based billing models:
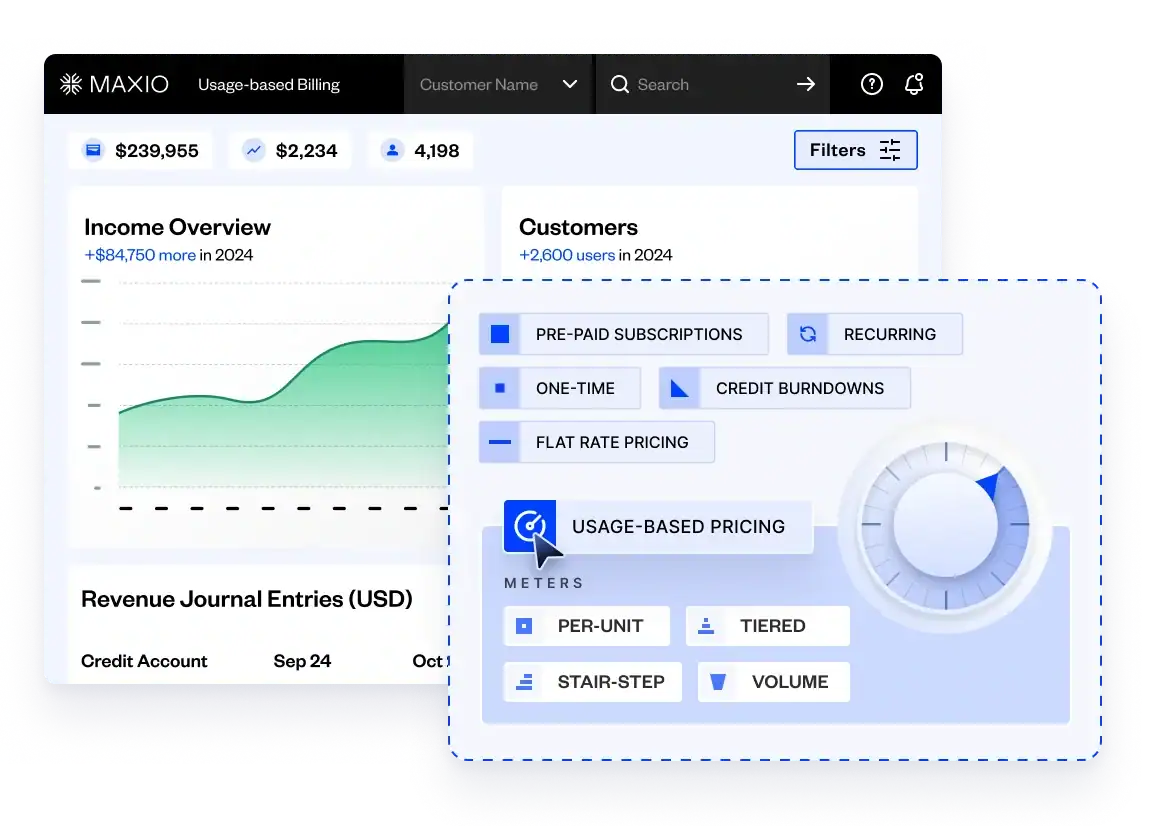
- Tiered pricing: In a tiered model, the customer pays a specific rate based on defined quantity levels. For instance, the first 10 units of use might cost $50 per unit, with subsequent units priced at $40 each. This approach is ideal for companies looking to incentivize higher usage volumes while maintaining flexibility.
- Per unit pricing (Flat rate): This straightforward method charges a consistent flat rate per unit. For example, pricing might be based on the number of active integrations or API calls, with each unit priced the same regardless of volume. This simplicity makes it easier to forecast revenue while offering transparency to customers.
- Volume-based pricing: Here, costs are determined by the total volume used. For instance, a customer might pay $50 per unit for 10 units but $40 per unit if they consume 15 units. This model rewards customers for scaling their usage and can be a valuable tool for encouraging larger contracts.
- Stair-step pricing: This model incorporates a range of flexible elements, such as thresholds and mixed usage. For example, the first 50 emails may be free, while the next 1,000 cost $99 per month. Stair-step pricing works well for businesses with variable customer needs or those looking to build loyalty with introductory free tiers.
A hybrid model can also incorporate variable usage-based pricing with traditional subscription elements, offering businesses more control over overages and ensuring customers only pay for what they use while maintaining a baseline subscription. Understanding these SaaS pricing models can help SaaS companies craft flexible, scalable strategies that resonate with diverse customer bases.
Benefits of usage-based pricing strategies
The seemingly unending benefits of usage based pricing are one of the main reasons why this pricing model has become the industry standard for SaaS companies. Let’s take a closer look at all these benefits one by one, and why SaaS leaders across various industries and stages of growth all choose to make UBP a part of their pricing strategy.
Lowers barrier to entry
One of the major benefits of a usage-based pricing strategy is that it minimizes the costs that are incurred in the initial stages, thus making it easier for new customers to sign up. Instead of having to pay for a large initial investment or a fixed subscription fee, this model allows customers to begin with a small amount and increase their usage as they grow. This kind of flexibility is especially important for start-ups and earlier-stage companies because they may not have the budget required for a full-blown enterprise-level tech stack.
Due to these low entry costs, SaaS companies can tap into users downmarket and demonstrate the benefits of their product earlier on in the customer journey. This approach also works seamlessly with product-led growth strategies, where the product itself is the primary driver of customer acquisition and retention.
And at the same time, this pricing model can offer a level of predictability for both the customer and the business. Customers pay based on actual usage, making it easier for them to manage costs while still benefiting from the service.
Enables pricing flexibility
Another standout benefit of usage-based pricing is its inherent flexibility.
Unlike other rigid business models, this approach allows SaaS companies to adjust their pricing strategy based on actual customer usage data and constantly changing customer needs. And by studying how customers interact with their product, companies can identify their customers’ usage patterns and tailor their pricing to match these usage levels.
This pricing flexibility makes it possible for SaaS providers to cater to customers all across their total addressable market (TAM) from individual users all the way up to enterprise accounts. For instance, startups with smaller budgets may benefit from the lower upfront costs made possible by UBP, while enterprise customers with higher usage can scale seamlessly without feeling constrained by a one-size-fits-all pricing model.
Increases customer retention
Charging customers based on their actual product usage can significantly improve customer satisfaction and, in turn, improve customer retention.
Basically, when customers feel they are paying only for what they use, it creates a sense of fairness and transparency that strengthens their trust in the service. This connection between the cost of a service and the value customers receive means that the customers in question will feel more confident in their investment and reduce the likelihood of churn. A study by OpenView Partners even found that usage-based pricing models can help SaaS companies foster deeper relationships with their customers and, as previously mentioned, increase customer retention.
Supports account expansion
Usage-based pricing models naturally create upsell opportunities by connecting the cost of a service with how much customers use it. As these customers grow their usage over time or discover more value in the product, their usage tends to increase, leading to higher spending.
This kind of natural progression fosters organic revenue growth without the need for any aggressive sales tactics, as customers will willingly expand their investments to match their needs. This model is also especially useful in product-led growth strategies, where the product itself drives adoption and expansion within a customer base.
Usage-based pricing examples in SaaS
Usage-based pricing isn’t unique. It can be found throughout the SaaS industry in various integrations. Because of its versatility, it can be molded to fit various needs. Take a look at any of these companies and their pricing strategy for some sound examples of this:
Amazon Web Services (AWS)
Amazon Web Services is a good example of a pay-as-you-go option. Software companies using it have access to the individual services they need but don’t have to pay for what they don’t use. There are no long-term contracts in place or complex licensing considerations with this pricing structure. The hard part comes in when you want to use a lot of AWS’s services—the costs then add up.
Microsoft Azure
Microsoft Azure is a leading cloud computing platform that employs a pay-as-you-go pricing model that gives businesses the flexibility to scale resources according to their needs without upfront costs.
This approach is particularly beneficial for startups and enterprises seeking scalable solutions that can cater to their operational demands. And similar to AWS, Azure’s pricing structure is transparent, with no upfront costs or cancellation fees, and customers pay only for the resources they use.
Snowflake
Snowflake uses a usage-based pricing model that charges customers based on their consumption of compute and storage resources. These compute costs are billed in “credits” based on the size and duration of virtual warehouses, which allows customers to pay only for the processing power they use. These storage costs are calculated on a flat rate per terabyte per month, with automatic compression to optimize data efficiency.
Datadog
Datadog’s usage-based pricing model aligns the costs of their monitoring and analytics service with the value their users receive from each of their services. Specifically, their pricing is based on value metrics like the number of hosts monitored, the volume of logs ingested, and the usage of Application Performance Monitoring (APM), and custom metrics. This flexible approach allows Datadog’s customers to pay only for the resources they actually end up using.
Twilio
Twilio is a great example of a SaaS company with a scalable and flexible pricing model. They offer a free trial, metered-usage “pay-as-you-go” pricing, and sales-negotiated contracts to name a few. These flexible pricing options have allowed them to capture new market segments and give their customers the option to scale with them as their product usage increases.
Slack
The popular communications platform, Slack, employs a hybrid model that combines subscription tiers with usage-based features to offer flexibility for businesses of all sizes.
While its core plans are based on fixed monthly or annual subscription fees, certain features like their message storage and API call limits scale with usage. This model supports small teams by keeping entry costs low while providing large enterprises with the ability to expand their communication capabilities as their needs grow.
Zapier
Zapier employs a tiered pricing model based on “tasks,” which represent the successful actions completed by your Zaps. Each plan includes a specific number of tasks you can use each month. For example, the Free plan offers up to 100 tasks per month, while the Starter plan provides 750 tasks per month. This structure allows businesses to select a plan that aligns with their automation needs and scale up as their requirements grow.
Additionally, Zapier offers a pay-per-task billing option for users who exceed their plan’s task limit, ensuring that your Zaps continue running without interruption.
Considerations for usage-based SaaS pricing
When selecting a pricing model, SaaS companies must prioritize scalability and the ability to capture the full value of their product or service. Fortunately, for high-growth SaaS companies, flexible pricing options like usage-based pricing models make it easy to meet the diverse expectations of their user base.
That being said, before you decide to implement a usage-based model, there are two main factors SaaS business leaders should take into consideration, including:
Their ability to track and recognize revenue earned from customer usage
Whether or not their business model is compatible with UBP
SaaS compatibility with a usage-based model
Determining whether or not a pay-per-use plan aligns with a product requires that SaaS leaders dig into their customer usage patterns using a tool like Maxio’s SaaS metrics and analytics. By tracking metrics like feature adoption, activity peaks, and frequency of use over time, SaaS companies can gain insight into how users actually interact with their application.
If customer usage ebbs and flows seasonally, then a usage-based model could be useful for charging higher rates during demand spikes. However, if lif you find that a large segment of your user base rely on a small subset of features, then permanent subscription plans with tiered pricing may be a better approach.
Ultimately, as long as you are able to identify a strong value metric that you can charge users for and there is clear evidence that your customer base is actively using your product, then you should be able to succeed with usage-based pricing.
Tracking and recognizing unpredictable revenue
As customers’ usage fluctuates each month, you’ll need a way to track and recognize the revenue from these changes in real time. These fluctuations in MRR create challenges for finance teams who still manage all their core financials in a spreadsheet. Instead, finance teams need to develop scalable financial operations to capture and recognize complex, usage-based revenue streams.
This is exactly why we built Maxio.
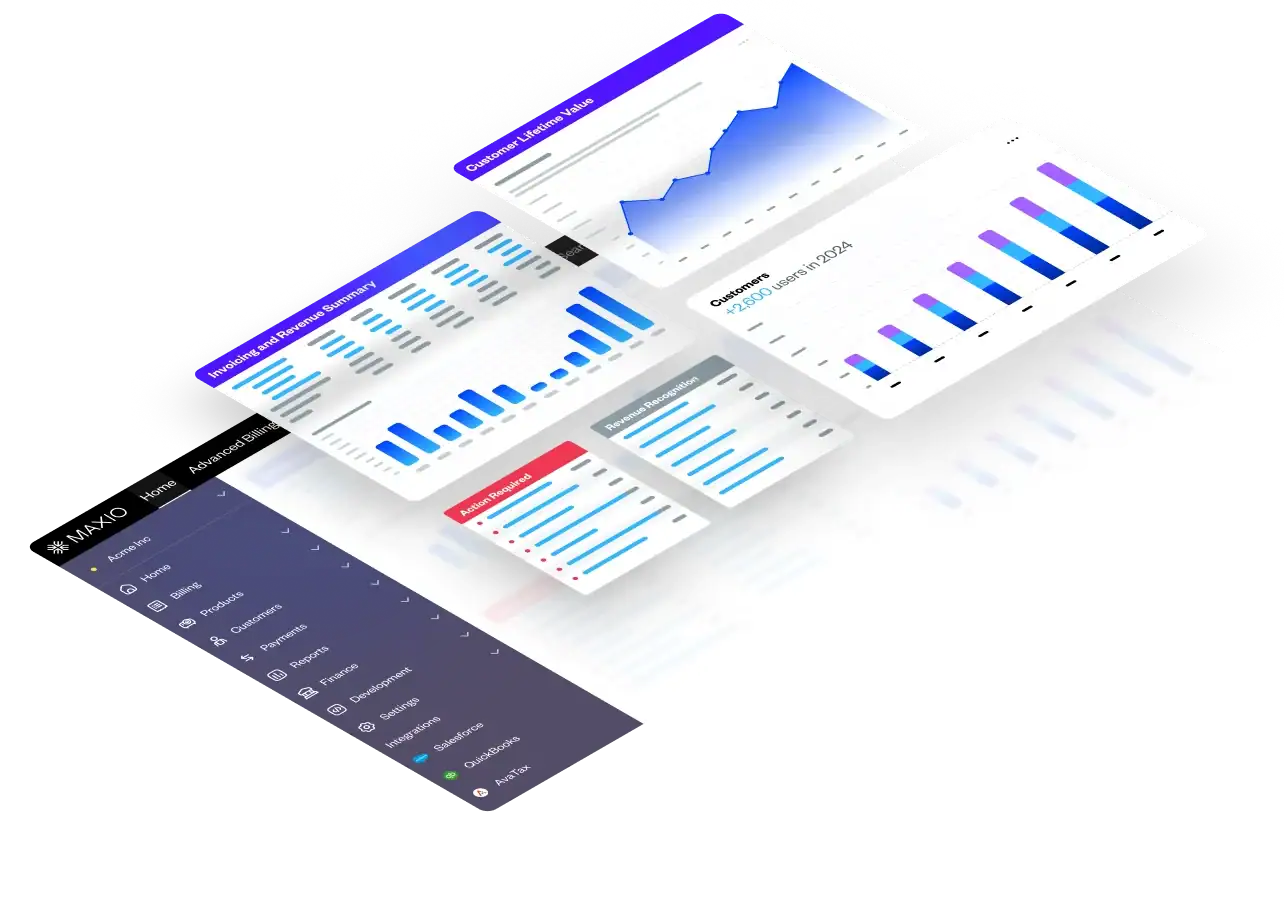
Maxio automates the tracking and recognition of unpredictable MRR by helping SaaS companies manage revenue fluctuations with greater precision. By eliminating manual processes, Maxio provides real-time insights that allow finance teams to analyze revenue trends, identify patterns, and make proactive decisions. Its advanced tools streamline revenue forecasting, enabling teams to predict and plan for changes in revenue more accurately.
With Maxio, SaaS companies can develop financial operations that not only handle fluctuating MRR but also position them for sustainable growth.
Implementing a usage-based pricing model with Maxio
If you’re determined to implement a usage-based pricing model and open up new revenue streams in your business, then you need the right tools. At Maxio, we built our platform specifically to help growing SaaS businesses set up UBP quickly, track usage-based revenue in real-time, and optimize pricing based on their usage metrics.
Here’s how you can implement UBP in your business using Maxio.
Assess customer usage patterns
Prior to installing any usage-based method, companies need to understand customer usage. Then, they need to alter and update their billing methods to meet those expectations. Customer usage data is also referred to as “event data,” or customers’ specific actions within your application. SaaS businesses can use this event data to gain insights into how their product is being used by customers, where they can make product improvements, and how they can reiterate their pricing strategy.
How do you gather this customer usage data exactly?
Using Maxio’s SaaS metrics and reporting, SaaS companies can dive deeper into their users’ product usage patterns and customer demand. Maxio also allows SaaS companies to segment their customer base, identify trends, and design flexible pricing strategies that cater to varying needs.
Choose the right metrics for pricing
Selecting the right usage metric is essential for creating a pricing model that accurately reflects your customers’ usage and the value they derive from your product. Start by identifying key usage metrics that align with your product’s core value, such as API calls, data storage, or transaction volume.
Then, evaluate how these metrics relate to common use cases, ensuring they capture the specific ways customers benefit from your service. For instance, a SaaS company offering cloud storage might focus on data volume as a primary metric, while an analytics platform might prioritize the number of queries processed. By tying pricing to meaningful metrics, companies can create a model that resonates with customers and scales naturally with their usage patterns.
Integrate a flexible billing system
Once you’ve identified your usage metric(s), you can start implementing UBP—but only if you have a flexible billing system. A flexible billing system will allow you to track customer usage in real-time and make automated adjustments to your billing, reduce manual billing errors, and even streamline your invoicing and collections processes.
Of course, not all billing systems come with all of these features, but with a SaaS billing platform like Maxio, you can get access to all of these features. The alternative is that you manage all of these activities in siloed tools or spreadsheets which will only leave you with piles of disjointed data, upset customers, and a ton of missed revenue opportunities.
Monitor and adjust pricing over time
Pricing is never a set-it-and-forget-it activity. It’s an ongoing process that requires you to monitor and adjust your pricing over time based on changing customer needs, market conditions, and industry trends.
You can try to track all of these changes manually, or you can use a dedicated tool like Maxio to connect all of your customer, contract, invoice, revenue, and payment details together into a single source. And once you have this data on hand, you can:
- Visualize financial shifts through easy-to-read graphs and charts
- Help your CEO understand churn across customer cohorts
- Let your A/R accountant stay laser-focused on DSO and accounts receivable
You can then use this data to inform how and if you should adjust your SaaS pricing.
Grow your SaaS company with usage-based pricing
Usage-based pricing offers SaaS companies the flexibility, scalability, and customer alignment needed to drive sustainable growth. By selecting the right metrics, integrating flexible billing systems, and continuously monitoring and adjusting your pricing strategy, you can create a model that resonates with your customers and maximizes revenue.
Ready to take the next step with UBP? Download Maxio’s usage-based pricing guide to access benchmarks and best practices for implementing UBP successfully in your business.
